
digital workflow stage
3D Printer for Dentistry
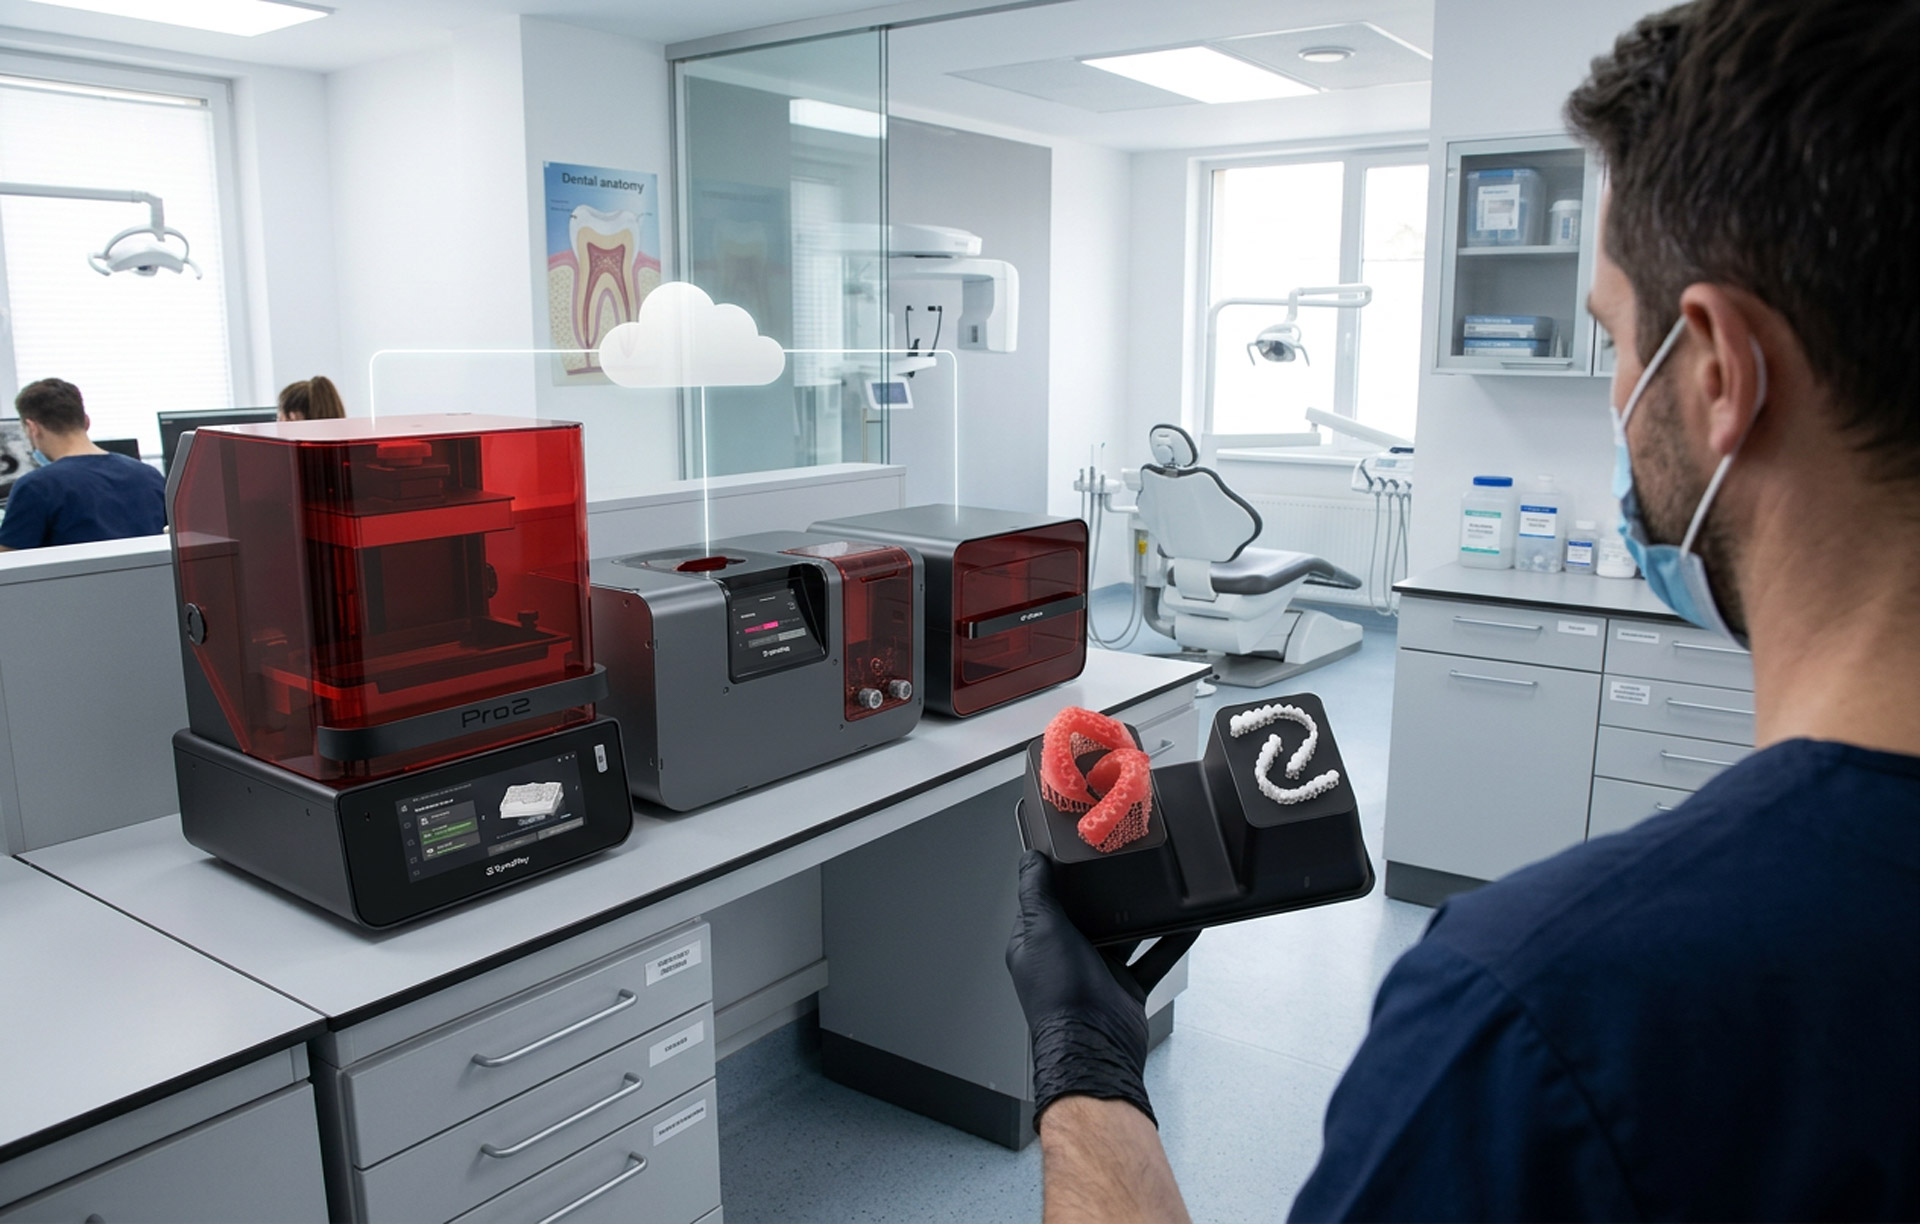
A dental 3D printer builds dental parts layer by layer from light-cured resin, using the same digital files your intraoral scanner and design software already produce. Practices and labs use them for models, surgical guides, splints, trays, dentures and temporaries, the work that is often outsourced and repeated.
A printer is not a replacement for a milling machine; it is the other half of the digital workflow. Printing is fastest and cheapest for resin parts and batches, while milling remains the standard for zirconia and glass-ceramic restorations. The right question isn’t “which printer is best” but “which of my cases should be printed, and how many per week.” This page helps you answer that.
How to Choose a dental 3D Printer: 4 questions to answer first

What will you print?
List your top three indications. Models and trays tolerate some variation; guides, splints and restorations need validated accuracy and cleared resins. They pick the printer.
How many parts, how fast?
A chairside printer handling one patient at a time needs speed per print. A lab or multi-chair practice needs a large build platform and batch throughput.
Will it fit your current workflow?
Confirm the printer opens STL, OBJ or PLY files from your scanner and from design software such as exocad or 3Shape.

What will each part really cost?
The printer is one line of the budget. Add a wash unit, a curing unit, resin, tanks and build plates, software, training and staff time.
See the 3D printers below
Discover the leading 3D printers in the dental market.
No products found.
Frequently Asked Questions: 3D Printer
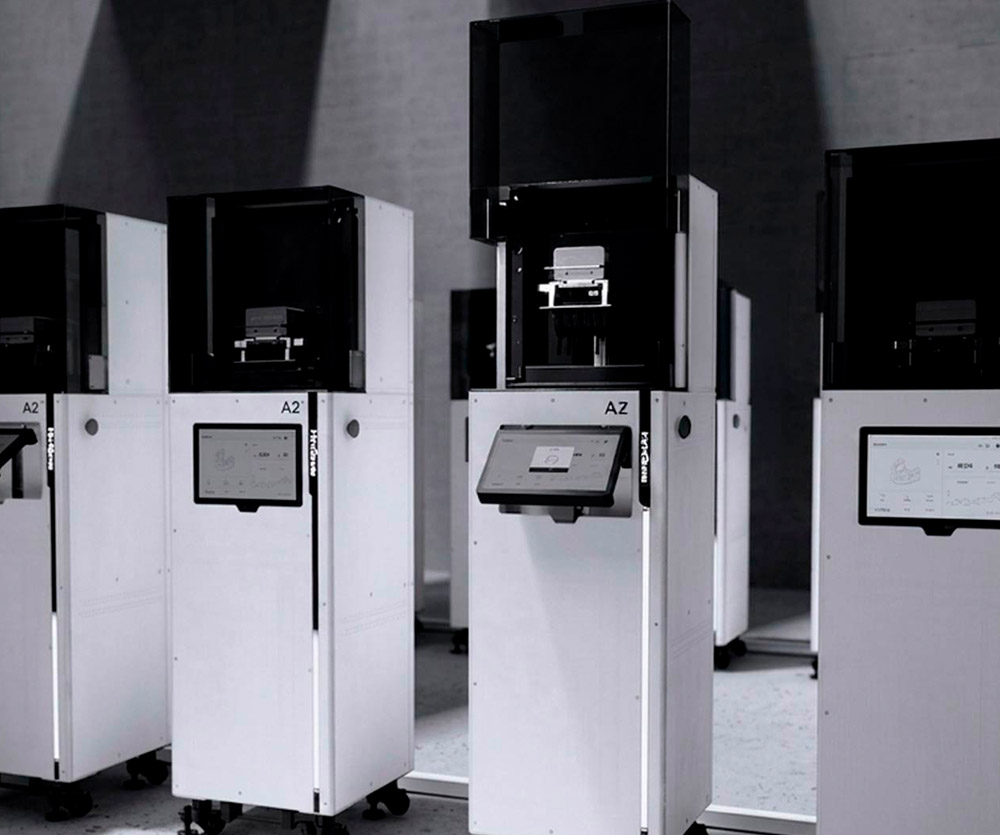
It depends on your case mix. If most of your outsourced work is models, guides, splints and temporaries, start with a printer; if it is zirconia or e.max crowns, start with a mill. Many practices and labs end up with both.
Models, surgical guides, splints and night guards, custom and bonding trays, temporaries and dentures. Some resins are FDA-cleared for definitive restorations; check which are validated for your printer.
SLA traces each layer with a laser, DLP projects the whole layer at once, and LCD shines LEDs through a masking screen. SLA favors detail; DLP and LCD favor speed on batches.
A wash unit, a post-curing unit, compatible resins and print-preparation software. You also need digital files, from your own scanner and design software or from a design service.
Compare your monthly outsourcing spend on printable indications with the monthly cost of printing in-house, including resin, post-processing, software and staff time. If outsourcing costs more, the printer pays off.
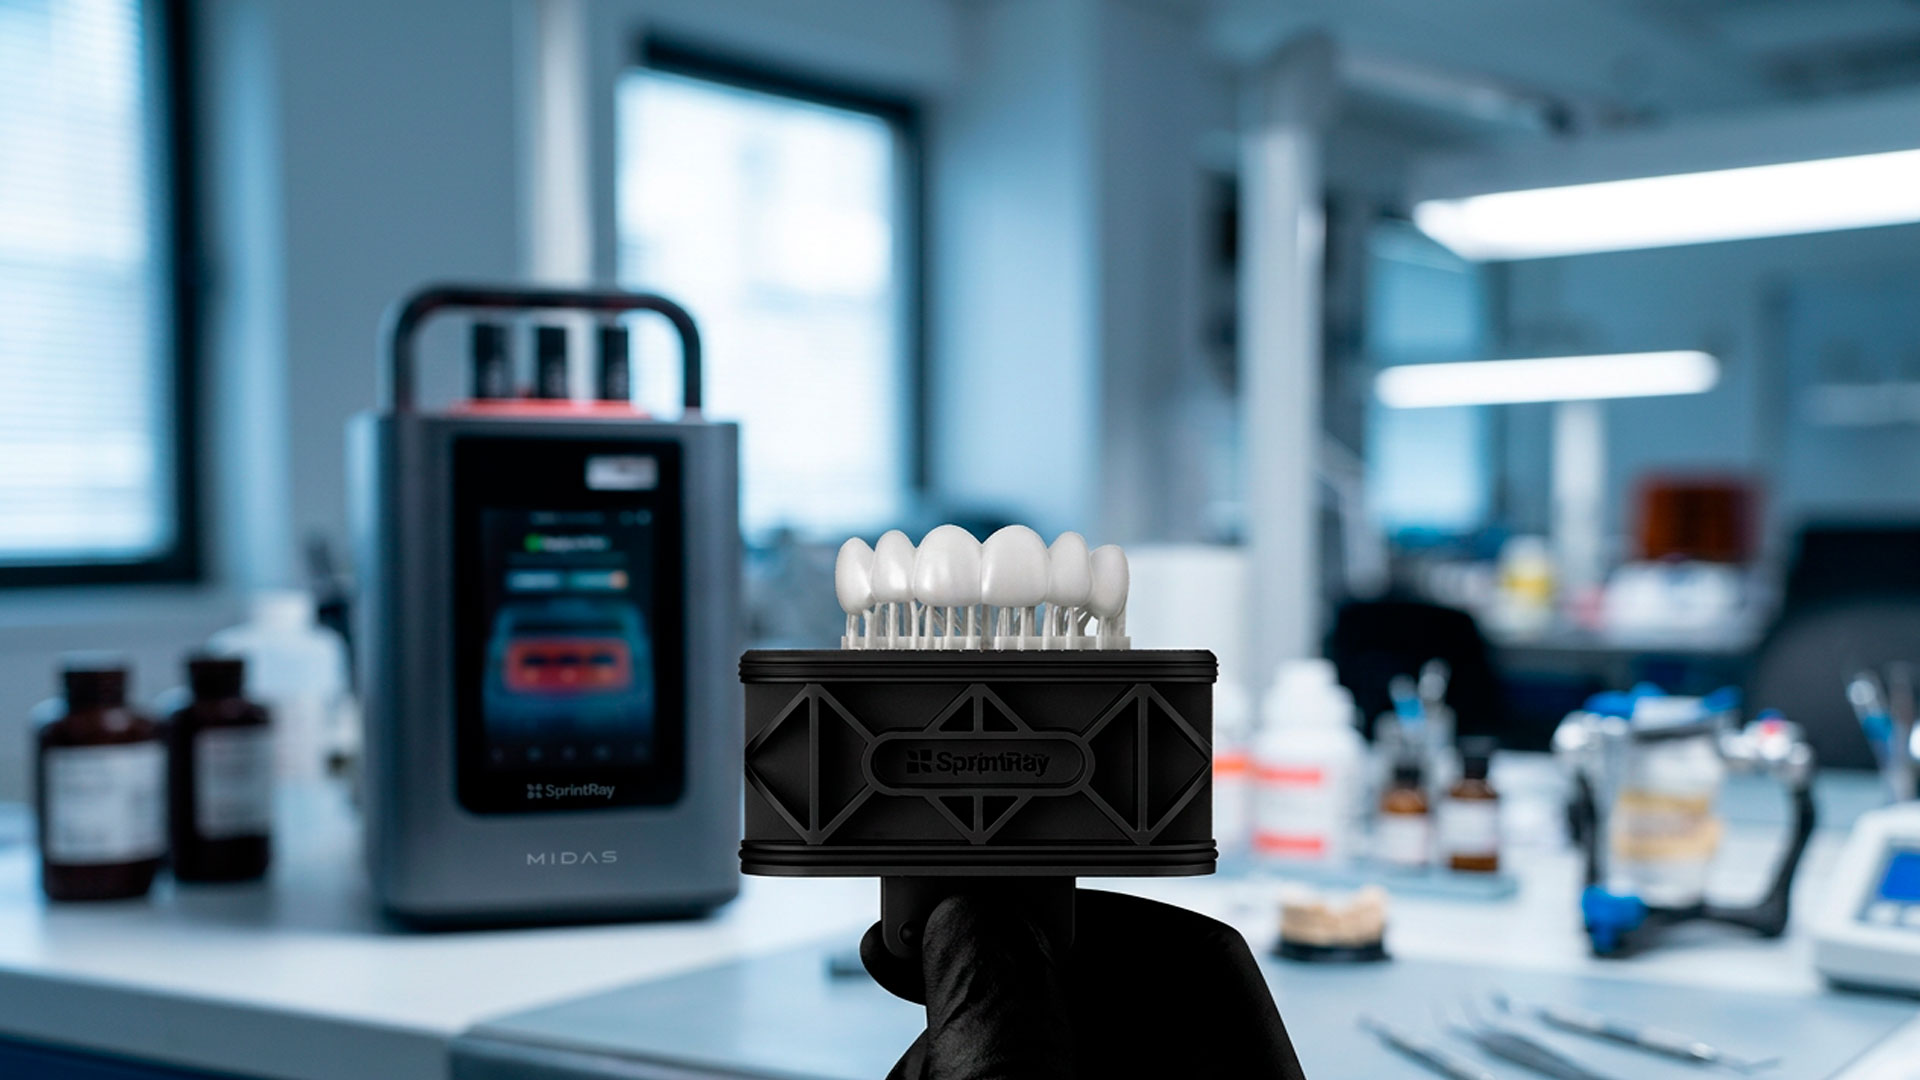
What changes when you print in-house
Cases leave the same day, not next week
- Print guides, splints and temporaries between appointments
- Reprint a part in hours instead of waiting on a lab remake
- Show patients a printed model or mock-up while they’re in the chair.
You control cost and quality
- Replace recurring outsourcing fees with a known cost per part
- Batch repeat cases on one build platform
- Use saved settings and validated resins for consistent results
Your digital workflow is complete
- Scan, design, print and mill under one roof
- Send each case to the right machine, printer for resin, mill for ceramics
- Add indications such as dentures or aligner models as you grow
Talk to our team of experts
Tell us about your scenario. We’ll prepare a technical estimate and guide you to the best solution.
Fill in the fields below:
